
Well folks, here we are again, many weeks removed from my last post. The truth is, I've been cooking and experimenting all over the place, I just haven't made the time to write.

My birthday just passed so I'll be posting a couple recipes from that delicious spread. In the meantime, I am going to write a little sushi how-to here and I hope you'll be inspired to give it a try sometime based on my experience. This is as much to give me practice of writing good directions as it is to be informative for you so feel free to leave tip if you thought something was confusing, inadequate or if you liked it!
The photos were also a bit experimental and some of them aren't particularly good but I think they get the point across.
Sushi Rice (adapted from imakesushi.com)
|  |
- Rinse rice until the water you're using runs clear. It will take a few times, but it is essential in order to achieve the individual, sticky grains later on.
- Bring rice and water to a boil in a large saucepan with the lid on. Reduce heat to low and simmer for 10 minutes. Remove from heat, don't peek under the lid, and let steam for 20 minutes.
- While rice is cooking, combine rice vinegar, sugar and salt and dissolve (you may need to heat it in the microwave or a saucepan). Skip this step if you are using already seasoned vinegar.
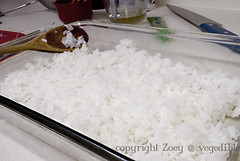
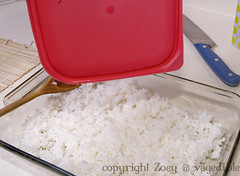
- When rice is done, transfer to a casserole dish and gently spread the rice out in the dish.
- The next part is a little tricky and somewhat tiresome, but this is how you turn standard rice into the glossy, sticky, firm but tender grains necessary for making delicious rolls. Drizzle in seasoned vinegar one tbsp at a time. Using a wooden spoon you are going to gently – without smushing the rice – cool down the rice by sort of sifting through it, or folding it as if it were dough, with the spoon. Simultaneously, use a fan or a plastic Tupperware lid to fan the rice and cool it to slightly above room temperature.
Regular Maki
I struggled with this roll for a while before being able to regularly roll it properly. Often the guts come spilling out if you overfill it or use too much rice, so keep practicing!
A bamboo rolling mat will cost you about $1 at any grocery store and it's worth the investment.
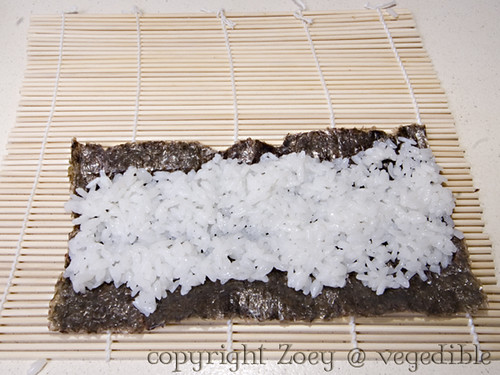
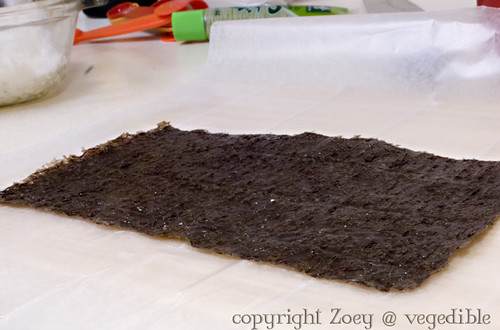
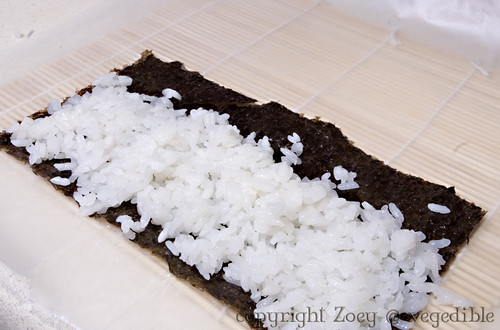
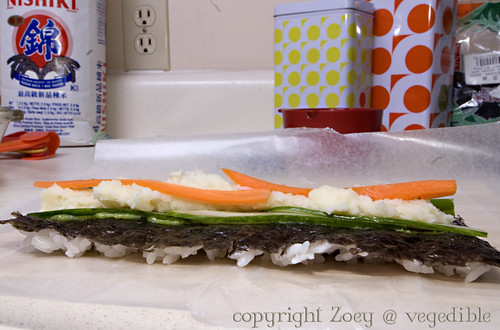
First, cut a sheet of nori in half, width-wise and lay it on your mat. Use about a 1/2 cup of rice and spread it on the nori, leaving about a centimeter at the top and bottom. (My nori is wrinkly because it was from an old, opened package.)
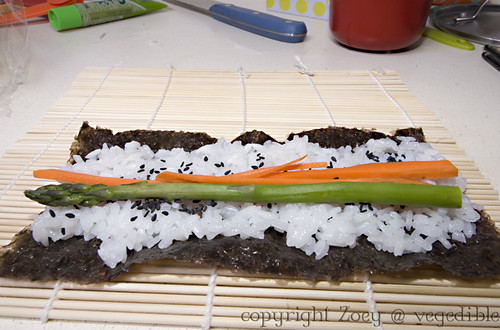
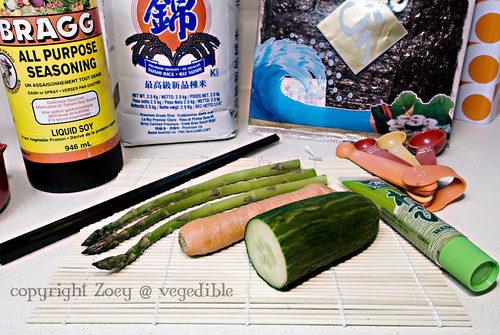
Place your fillings about two-thirds of the way down the rice. Here, I've used sesame seeds, carrot and asparagus.
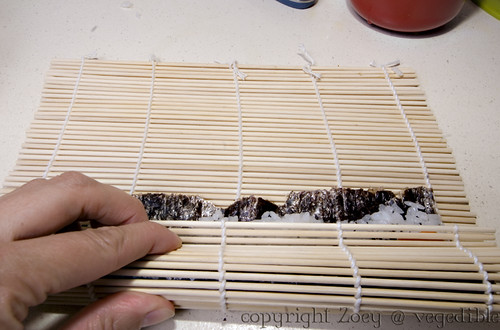
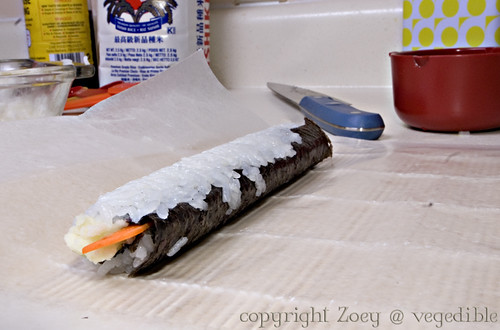
Use the mat to roll the bottom third of the nori over top of fillings. Use both hands to press firmly, but not violently, along the length of the roll.
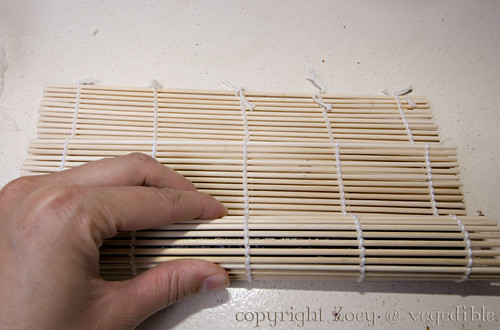
Pull the mat forward so you aren't rolling it inside the sushi, and finish rolling your...roll! Again, use both hands to press firmly along the length of the roll to shape it. It might turn out a little square until you get used to the rolling motions.
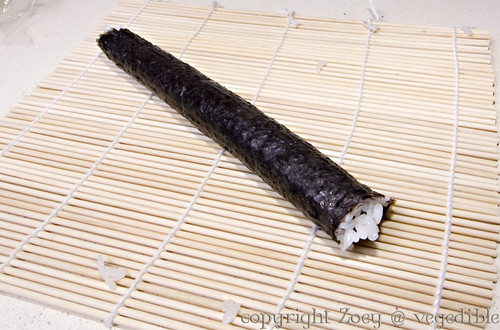
And voila!
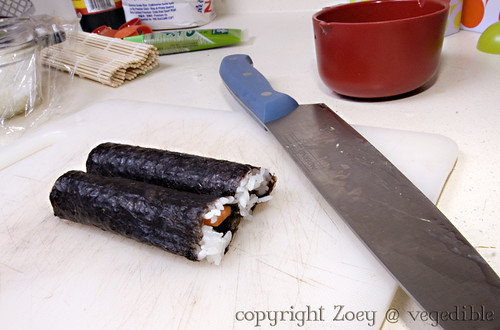
Wet the blade of a very sharp knife and cut your roll in half once, then arrange as in the photo. Cut both pieces in half again, and then slice each of those halves, wetting your knife as necessary to reduce stickiness. Always cut into 6 or 8 pieces, as 4 is recognized as bad luck.
If I am making the rolls myself it usually takes me a while and they can dry out, so it's usually a good idea to throw some plastic wrap over top, or put them in Tupperware.
For inside-out rolls
These are my go-to rolls most of the time. It definitely showcases your painstakingly prepared rice and for me it was easier to roll these than the standard rolls. Rolling the finished product in sesame seeds is both pretty and tasty.
Start with half a sheet of nori as before, but this time lay some plastic wrap down over your bamboo mat. I find that a bit messy sometimes and choose to use wax paper instead. This is to keep the rice out of the little cracks in your mat, which is a total pain to clean out.
Use a bit more rice than last time, and don't leave a gap like I did in the photo! Spread it evenly across the nori and then flip the sheet over so the plain nori side is facing up.
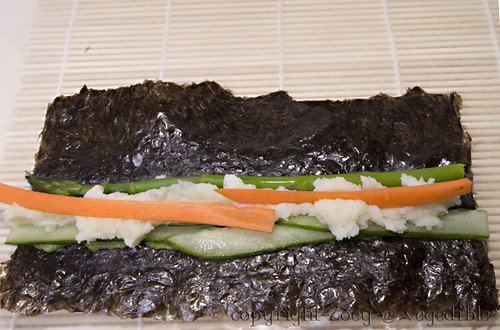
Assemble your fillings two-thirds of the way down the rice. This roll has wasabi, cucumber, carrot, asparagus and wasabi mashed potatoes (which didn't turn out so well after all).
Follow the same directions as above to roll it up!
I saw the error of my ways here, with that missing strip of rice. Cut as directed above.
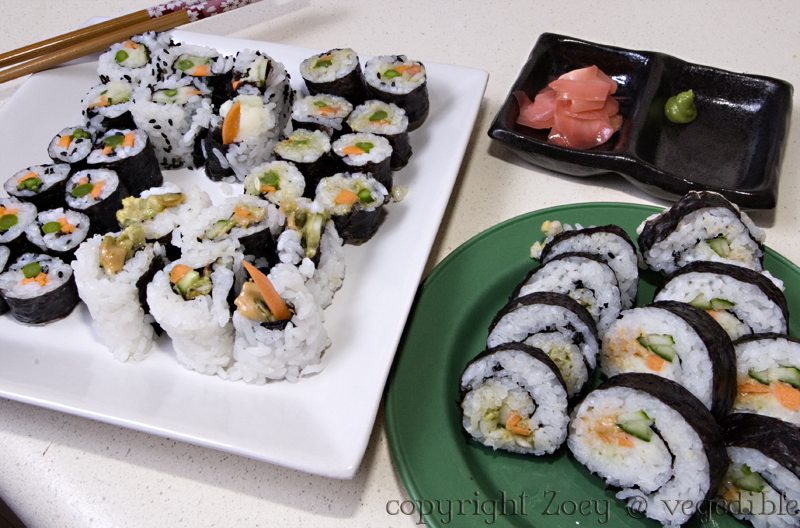
Click on this photo to go to flickr.com and learn more about the fillings I used.
And that is that my friends! I'm still experimenting with other interesting vegetarian fillings. Often I just use whatever's in the fridge. There's a great recipe in the Veganomicon for a tempeh filling, and another with sweet potatoes. When I have mushrooms around I slice em thin, simmer with soy sauce and mirin for a little while and then use them. Quite satisfying!
Happy Belated Birthday! I Love suschi. These looks scrummy! Thank you :)
ReplyDeleteThank you so much! I am flattered to hear that from you, your recipes are fabulous!
ReplyDelete